Building the Chassis
Ready to build the chassis? We will need some wood glue for this. I have found that it is great to use a coffee stick to apply the glue. A pencil will also be handy for poking out some of the laser cut pieces. Now let's check the pieces that we should have in the kit!


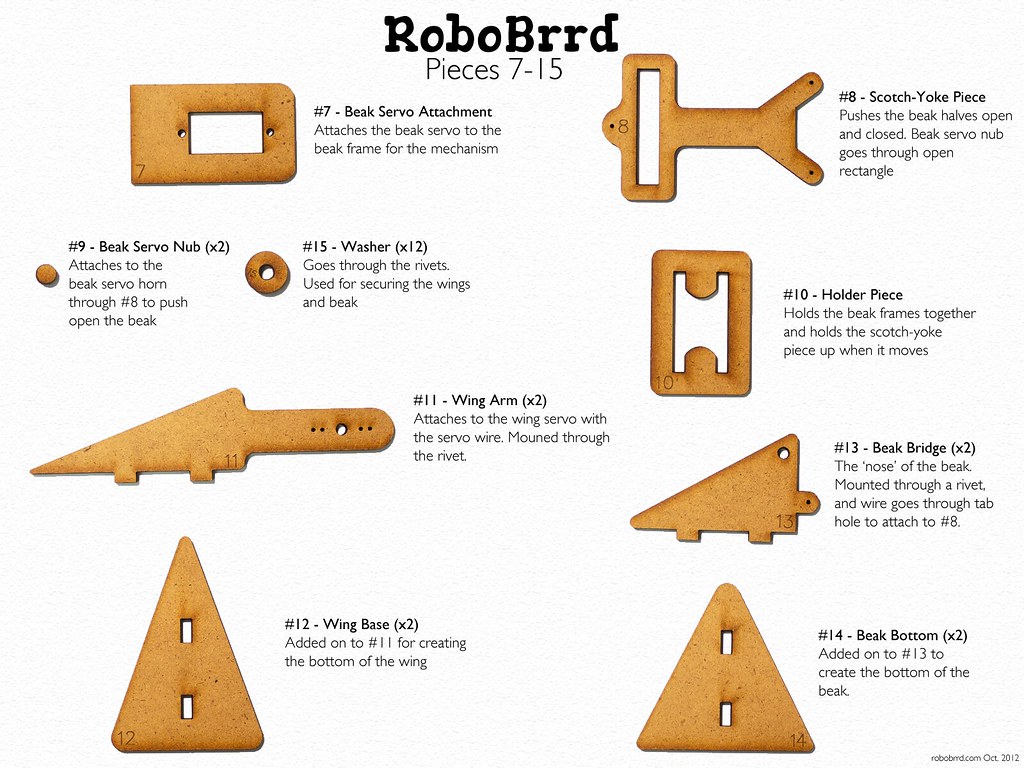
There are two beak servo nubs included in case you lose one or it gets destroyed. You only need one of them on the servo horn (as you will see in the later videos)!
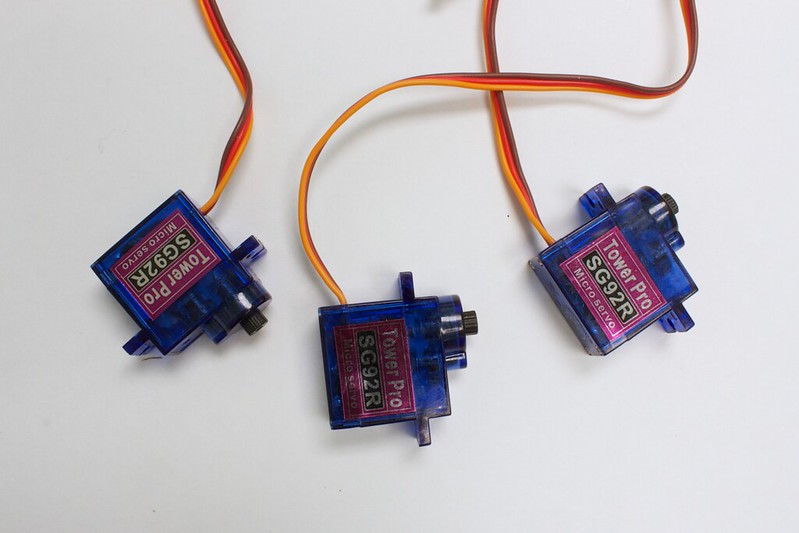
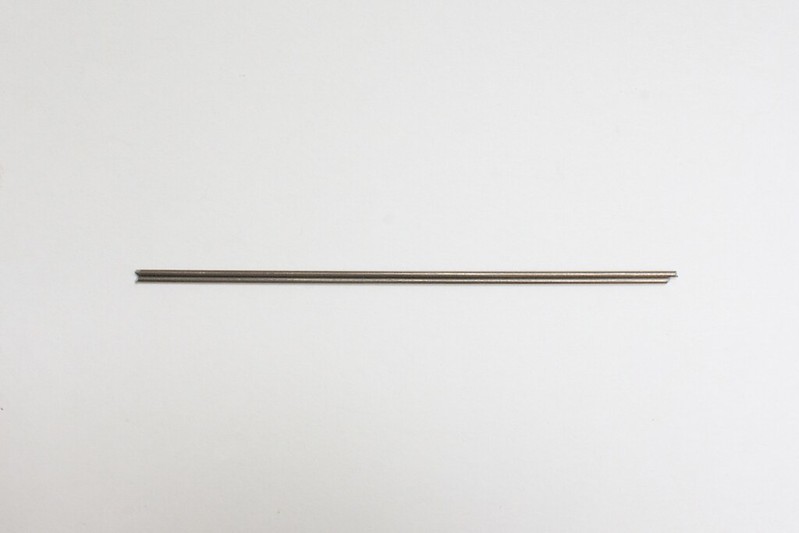
There is also a pack of mechanical pieces, three servos, and two 8cm long pieces of piano wire. The piano wire can be found taped to the RoboBrrd Kit box behind the 'hello new friend of RoboBrrd!' piece of paper.
Mechanical Pieces Included in Kit
| Quantity |
Item |
Place |
| 2 |
Rivet Diameter 1/8" Length 1" |
Wing frame through wing to front face |
| 2 |
Rivet Diameter 1/8" Length 5/8" |
Beak frame through beak to other beak frame |
| 4 |
Phillips Flat Head #6-32 x 1/4" |
Bottom face to standoffs |
| 4 |
Phillips Pan Head #6-32 x 3/16" |
Brain Board PCB to standoffs |
| 4 |
Standoff Screw Size #6-32 Length: 5/32"
In newer shipments, Length: 1/4" |
Between Brain Board PCB and bottom face |
| 2 |
Piano Wire Diameter: 0.039" Length: ~8cm |
Wing servo to wing arm |
Now it is time to assemble it! We have created a series of four videos that will guide you through building the RoboBrrd chassis, see them below!


 Store
Store Robots
 Learn
Learn Community