Want to take your robots to the next level? Or learn some special tips and tricks from behind-the-scenes at RoboBrrd HQ! See our handy tutorials below.
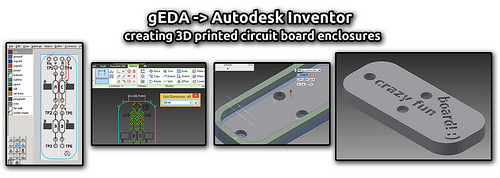
3D Printed PCB Enclosure gEDA to Autodesk Inventor
In this tutorial we will show you how to create an enclosure for your board by using the pcb you designed in gEDA, importing it into Autodesk Inventor, and extruding the shapes to make it ready for 3D printing.
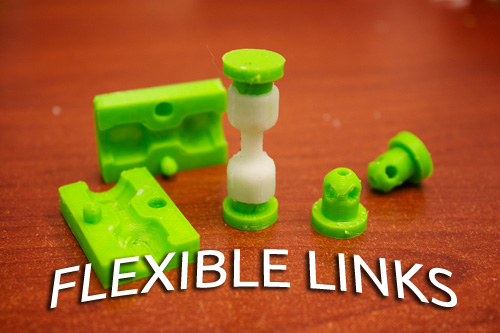
Moulding Flexible Links
In this tutorial we will be designing a mould for a flexible link and making one with Sugru. With the link, you can join two other 3D printed pieces together.
This technique can be used to build flexible areas in a robot, allowing it to have more movements than being directly driven by a servo.
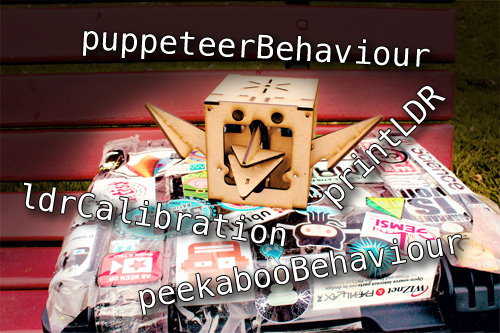
Behaviours Using a Photocell
In this tutorial we will calibrate the photocells (light dependent resistors), and create two basic behaviours for RoboBrrd to interact with you using the LDRs.
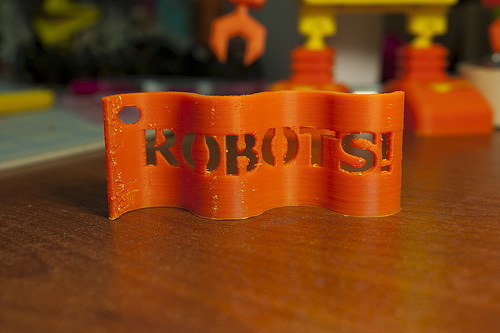
Wavy Text Token Using Autodesk Inventor
In this tutorial we will be creating a wavy text token. Along the way we will learn about text-embossing, manipulating sketches, and extruding tricks.
RoboBrrd Kit Instructions
These are the instructions to build the RoboBrrd Kit. Inside are a series of mini-tutorials that guide you through building, soldering, adding extras, and programming your RoboBrrd.
In this tutorial you will be able to create your own Google+ Hangout controlled LED! This touches on four main topics: Web applications, Processing, Arduino, and the Google+ Hangout XML. It is challenging to get set up, but afterwards it is easy to go forwards with it!
Impy RoboBrrd
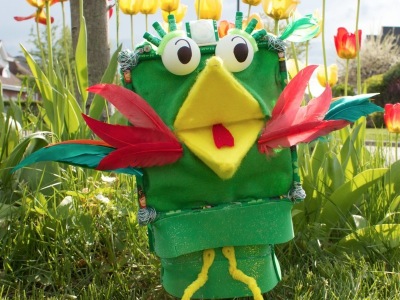
In this tutorial you will be able to learn about how the orange Impy RoboBrrd was created and designed. We will use popsicle, coffee, and craft sticks as the building material, and be wiring up a LM317 voltage regulator circuit and the servos, eyes, and more. Learn more about how to then program the RoboBrrd's behaviours and various functions.
Original RoboBrrd
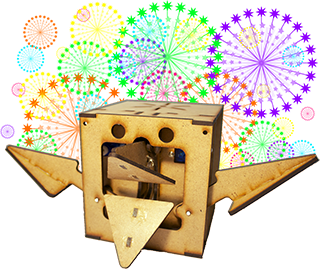
In this tutorial you will be able to learn about how the original RoboBrrd was created and designed. Learn about how to create your own RoboBrrd from household materials, as well as a LM317 voltage regulator circuit, a scotch-yoke mechanism, and a TLC5940 PWM shift out circuit. We will then dive in to how to program the servos, sensors, and behaviours.