6. Head


Grab the Head-Front piece, and add your 5mm LEDs to the LED holders. Be gentle, it is easy to over-force it and the holders can break.


Gather 2 hex nuts and place them into the captures.


Add the servo to the Head-Front piece. The servo horn should be farthest away from the front.


Gather 2x 6-32 3/8" screws and add them to Head-Back. Screw them in. You might have to adjust the servo to get the pieces to clasp together better.


Add some glue to the tabs of the servo to make it stick.


Next up we will add the ball for the servos.

7. Ball - Servos


Take the servo horn that has two extensions on it, and cut it at the 3rd hole.


Add these to your servos and screw them in to secure it in place.


Grab the Ball-Servo pieces and test them with the Arms & Body-Top pieces. If they don't fit (they probably won't), start to sand them down. Pressing them into the pieces should not require an excessive amount of force.


Add the Ball-Servo pieces to the servo horns. Place hot glue along the inner ridge in the Ball-Servo piece, then place it onto the servo horn.


This is what it should look like from the front.


Next up we will be doing a similar task, but for the feet.

8. Feet


Grab the Ball-Ball pieces and the Feet pieces. Test the Ball-Ball pieces if they will fit into the feet. If not, start sanding them down a little.


If you want the feet to be a little less movable, you can add a little hot glue to the socket. In the picture below, the foot on the right side has had some hot glue added. Make sure that the hot glue and surrounding plastic has cooled before inserting the Ball-Ball piece, otherwise it can get stuck!


Add the opposite end of the Ball-Ball pieces to the Leg Plate. This is what it should look like when done.


Next up... it's a surprise!

*Note: You only need two Ball-Ball pieces, the 3rd one is in case your Buddy4000 breaks its leg or something.

9. Done


Hooray! The skeleton for your Buddy 4000 is done!


Next up, we will describe some of the plates.

10. Plates


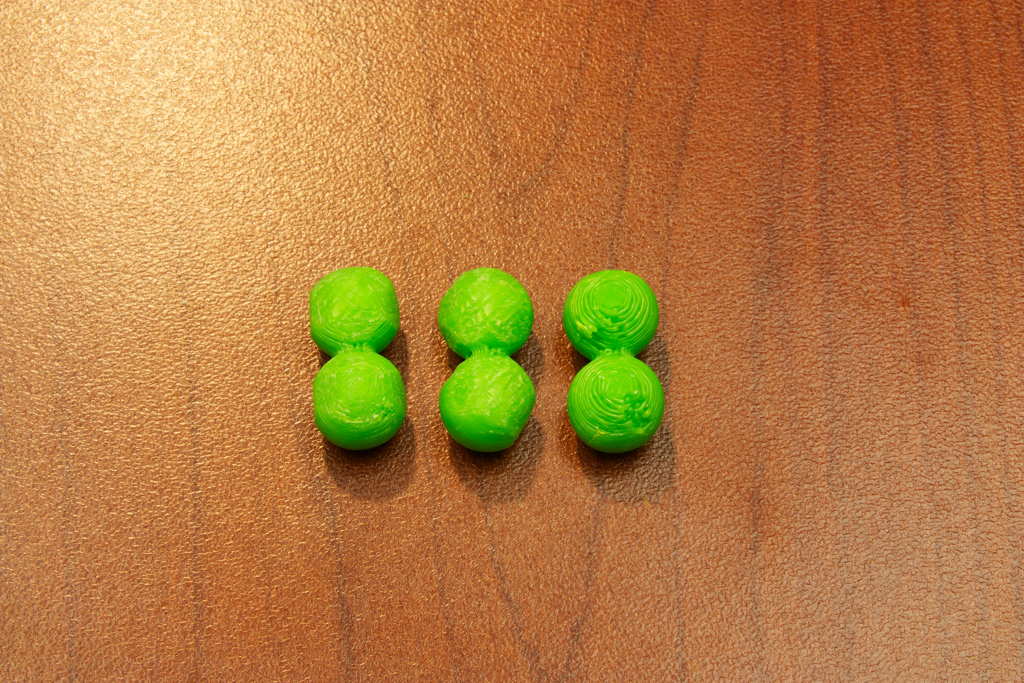
The plates are comprised (mainly) of two sets of pieces: the main part, and the negative part. The negative parts can be added to the main parts using super glue (or hot glue).

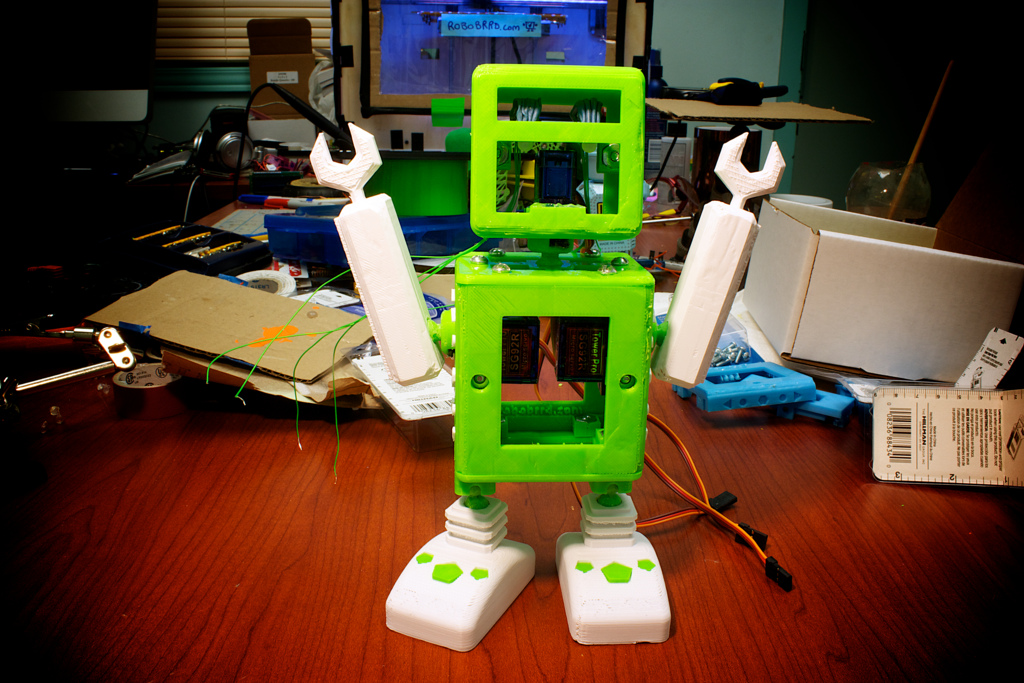
Here is a run through of the various plates that you can add to your Buddy 4000 to dress it up.

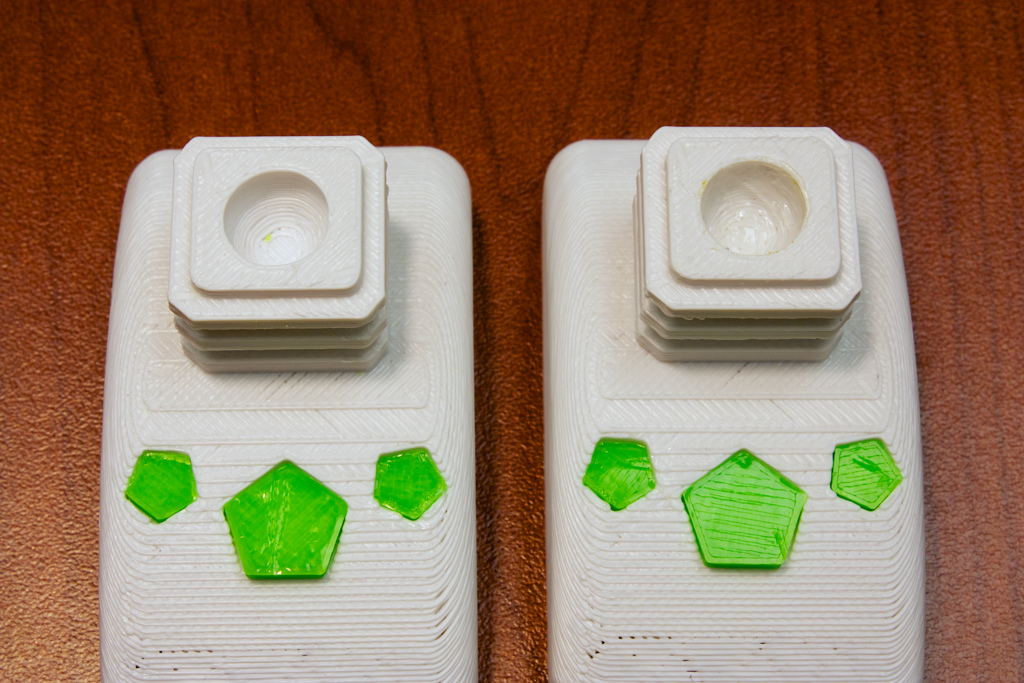
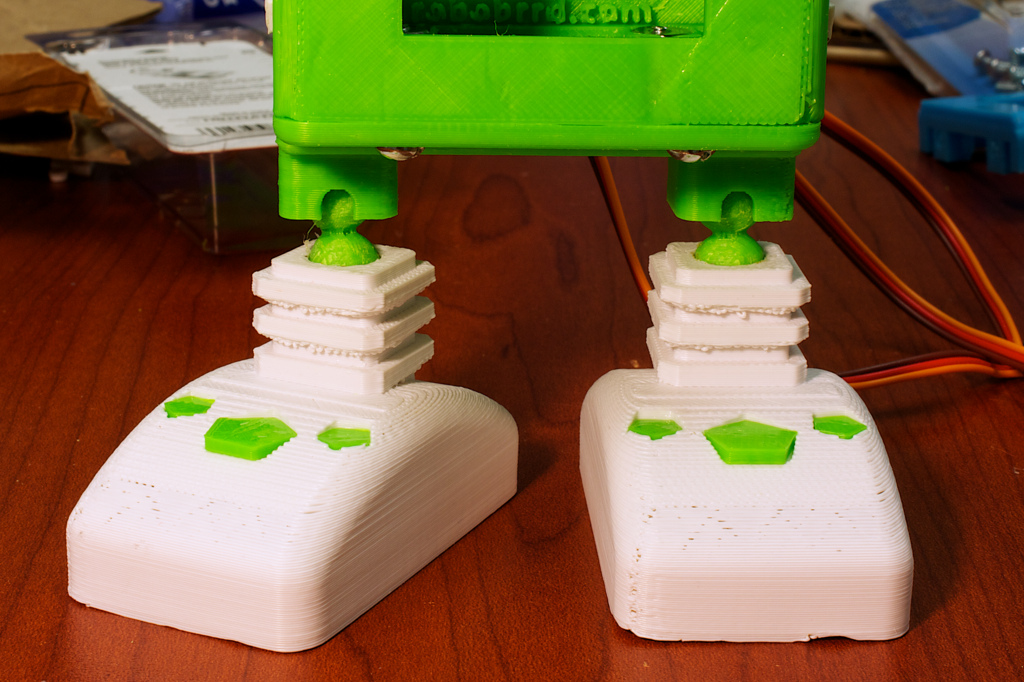
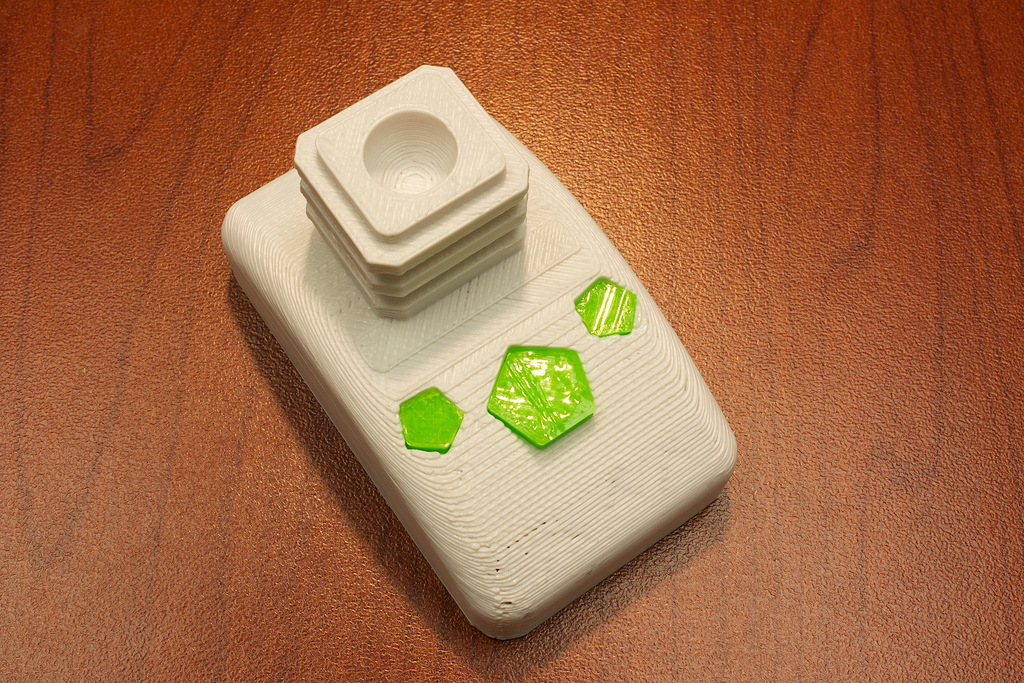
Foot with negative pieces


Head-Side Plate goes on the side of the head.


Back-Plate goes on the back of the main body.


Head-Front-Plate goes on the front of the head (duh)!


Front-Plate goes on the front of the main body.


Head-Top goes on the top of the head.


Body negatives go on the sides of the Body-Front pieces.


And that's it!

11. Next


Time to bring Buddy 4000 to life. Let's add the electronics!

Electronics