Assembling Body Square


Time to assemble the head/body of the tentacle mechanism. This is where the servos and LEDs are supported, and also where the tentacle holder piece is attached.

We won't be assembling the entire box just yet, only three sides, as we will need to have a space for our hands to reach and install the servos.

1. Grab the Box Side, Box Side Servo and Box Corner pieces

2. Move the Box Side and Box Side Servo piece so that they are 90 degrees to eachother, along the edge with the three circles.

The Box Side Servo piece should face inwards- so that the protuding part is 'near' Box Side. The 'tabs' on both pieces should be facing downwards.

3. Place the Box Corner piece along the two attaching edges of the side pieces

4. Insert a screw from the inside, on the middle hole, going through the side and out of the corner piece. Do this for both sides

5. Add a nut onto the end of the screw, threading it so that it won't come loose

6. With the remaining Box Side Servo piece, attach it to the other edge of the Box Side piece

7. Follow the same steps to attach the remaining Box Side Servo piece

8. Align the Tentacle Holder piece below the tabs on the side pieces

9. Insert a screw from the inside through the tab holes and tentacle holder

10. Attach a nut onto the end of the screw

That's it for the main assembly of the box, onto the servos next!

Servo Horns & Mounting


Time to break out the fresh servos and install them into their new robot.

Servo position: Position the servo horn horizontally, so that when twisting it left or right it can move 90 degrees. Use the long-with-no-nubs horn as the default.

Once your servo position is set up, attach the Servo Horn piece to the existing servo horn using hot glue.

With the servos, insert them into their brackets on the Box Side Servo pieces. The servos should be facing downwards- with the horn end closest to the tentacle holder piece.

tentacle_mech_wip_2_9

Once the servos are all inserted, add some hot glue along the long edges to attach them to the pieces.

Next up, adding on the fishing line!

Fishing Line Through Servo Horns


For this step, you might want to have a friend hold the body of the tentacle, so that the tail can float freely. Alternatively, you can string the sides up to a lamp, and achieve a similar effect.

Note: This is a long step that requires a lot of patience and tinkering. It's a good idea to take a break before tackling this!

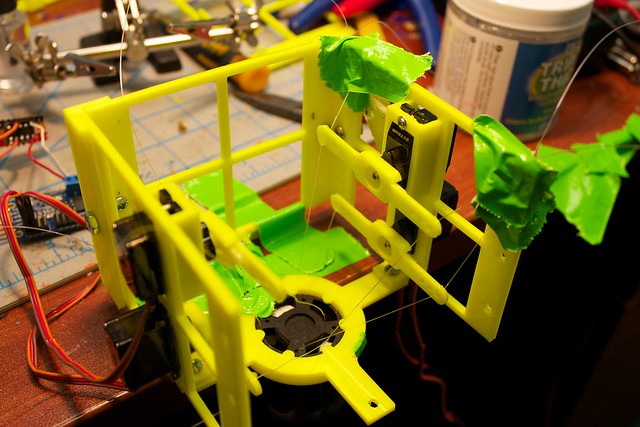
Here is what the assembly should look like, after these steps:

tentacle_mech_wip_2_7

1. Take two opposing fishing line strings that are tied to the middle vertebrae on the tail

You will know if they are opposing, if they are not next to eachother (meaning, there is another mini-hole between them). You can also tell if you pull one, the other string should become looser.

2. String one of the lines through the horn piece on the closest bottom servo. Make a loop-de-loop, so that the fishing line will be temporarily held in place

3. String the next line through the other end of the servo horn, making a loop-de-loop

4. With the remaining two strings from the middle vertebrae, follow the same steps. Loop them to the servo that is opposite of the one you just used.

5. Similar to before, but now with the end vertebrae: Take two opposing fishing line strings that are tied to the end vertebrae.

6. String the lines through the horn on the closest upper servo, and make a loop-de-loop

7. Follow the same step, with the remaining fishing lines from the end vertebrae


Taught Strings

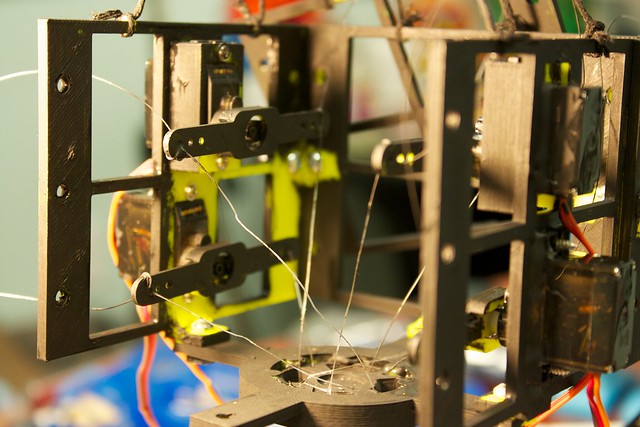
Now that all of the strings are attached to their horns temporarily, it is time to tighten them. The tail should be floating downwards -- when all of the servos are in their current horizontal positions. If the tail begins to tilt, then the line is too taught.

Once you get all of the strings to their appropriate 'taughtness', then tie a couple of nots to secure it in place. Use a few drops of clear nail polish on the not to keep it from becomming unraveled.

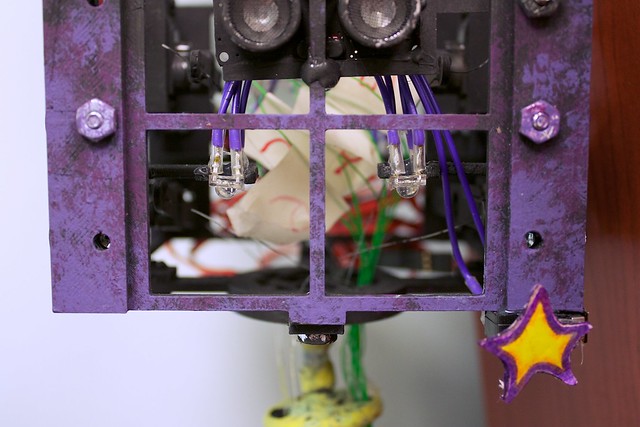
Here is a close-up of the line through the servo horn (with a glob of nail polish):

tentacle_mech_wip_2_4

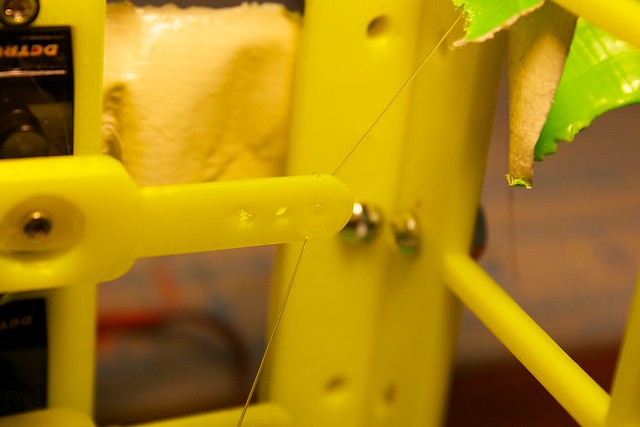
The good thing about the nail polish is that if you need to change one of the strings you can use acetone to remove the nail polish. It's quite handy.

The toughest part is done!!! Now for the sprint to the finish line. (Also, you don't need the tentacle to be hanging anymore, so your friend or lamp doesn't have to hold it up now)

Assembling Remainder of Body Square


When you are satisfied with the fishing line strings, it's time to add the LED holders and close up the body!

As for the LED holders, it's a good idea to orient them before trying to attach them. The LEDs shine out the side pieces (not the sides with the servos). The opening faces outwards. It is attached through the bottom circle on the servo side.

Here is a photo of the LED holders in action:

tentacle_leds_

1. Attach LED holder to the inside of the Body Servo Side piece, at the bottom circle

2. Insert a screw through the holder, side, and corner piece

3. Attach a nut onto the screw

4. Repeat for the remaining LED holders


Sensor Holder

The sensor holder was designed to be a really simple piece, that could be used for different things. We decided to use it for holding an ultrasonic sensor. This was attached to the side piece with a screw, then later some more reinforcing with hot glue.


Side

When all of the pieces are attached, it's time to close up the box with the remaining side!

1. Take the Box Side piece, and orient it so the tab is facing downwards. Align it with the adjacent pieces' edges

2. Attach the Box Corner to the side pieces

3. Insert a screw through the middle hole from the inside. Attach a nut on the other end

4. Repeat for the remaining corner

And that is it for building it!

Congrats!


You are done building the tentacle mechanism! Your own Botbait! Next up, we have to add the electronics! Let's get started!

Electronics

"I just finished building a Botbait! #patience @RoboBrrd"
RoboBrrd Kit Building I just finished building a Botbait! #patience #RoboBrrd