Introduction


botbait_4

Ready to build your Botbait? The tentacle mechanism awaits you! We will guide you through the process!

The most important thing to remember while building your Botbait is that it requires patience. Especially with the fishing line, since it's hard to see, it is easy to become frustrated. The thing that worked best for me while building Botbait was to just listen to some music and take my time when building it.

If you run into a roadblock (hopefully not!), then take a break and come back to it. Otherwise, ask on the forum about it.

Tools you will need
  • Phillips screw driver (for the 6-32 screws)
  • Hot glue gun
  • Fishing line
  • Scotch tape
  • Scissors, Xacto knife, cutters
  • Dish soap (if moulding flexible links)
  • Sugru or Oogoo (if moulding flexible links)
  • Soldering iron (if making the electronics)
  • FTDI cable (if programming the Arduino Pro Mini)
Now let's get building! :D

Pieces


Here are all the pieces. Keep in mind that they are all 3D printed, and some pieces may require some light sanding in places.

Photo Piece Qty
6-32 3/8" Screw & Nut 17
Box Side 2
Box Side Servo 2
Box Corner 4
Tentacle Holder 1
LED Holders 4
Sensor Holder 1
Servo Horns 4
Hubs 12
Vertebrae 7
Flexible Links (pre-moulded) 6
#1 Mould 1

Moulding the Flexible Links


If your flexible links are already pre-moulded, then you don't have to do this step.

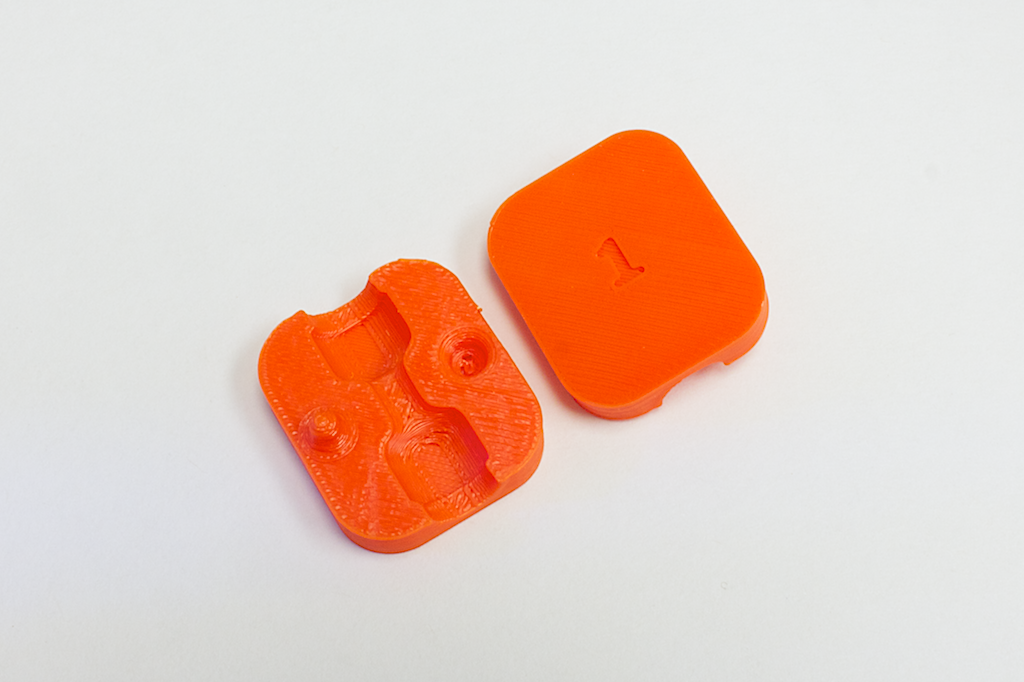
To mould the flexible links, you will need the
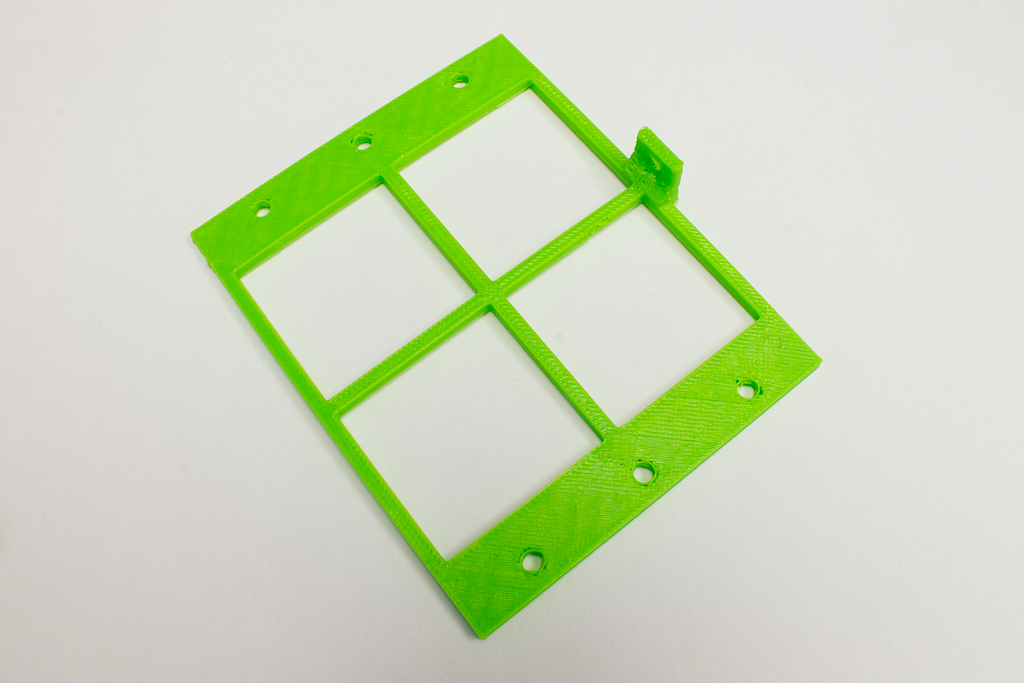
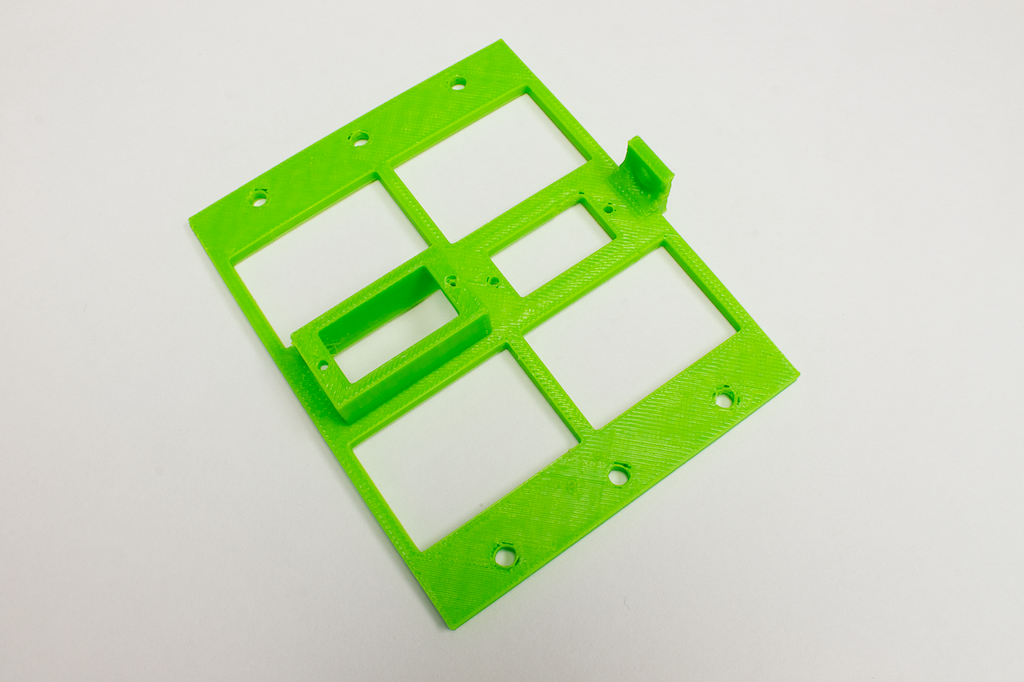
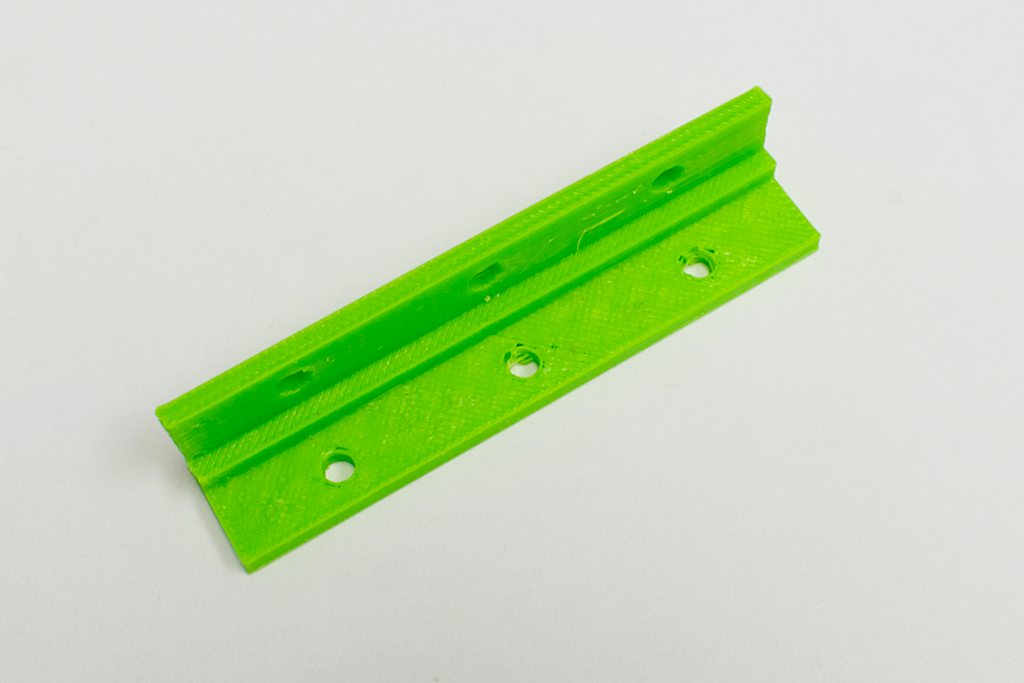
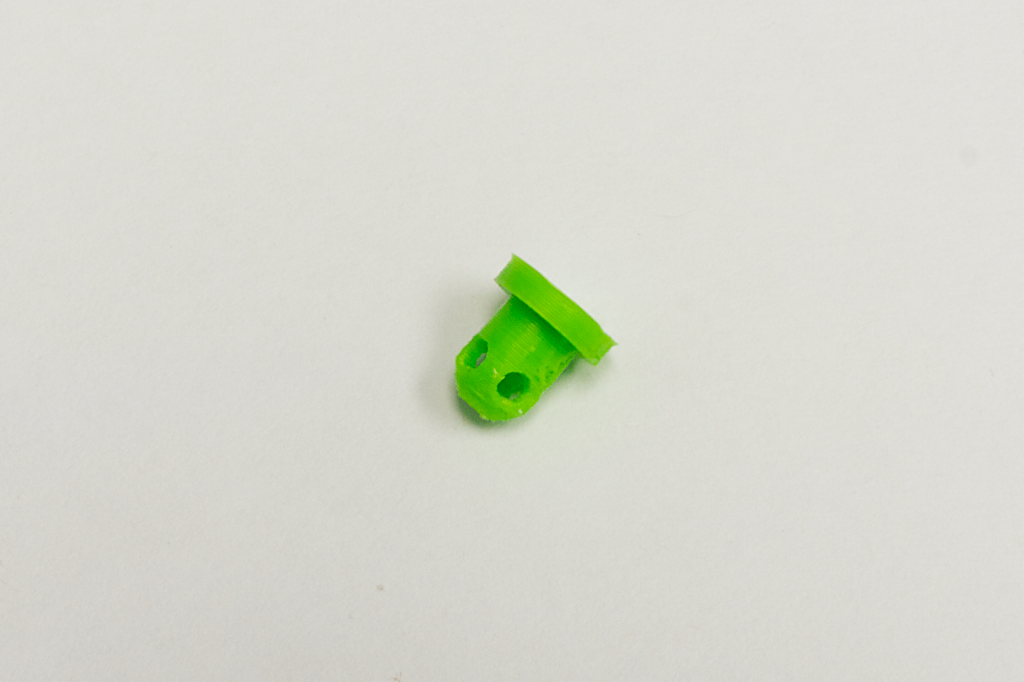
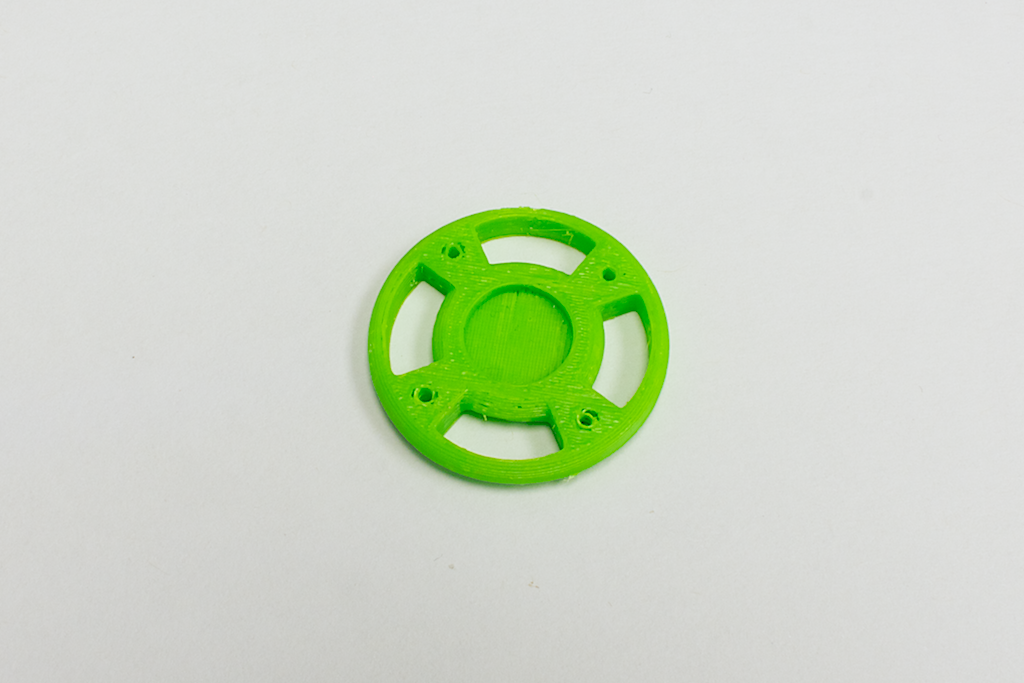
 hub and 
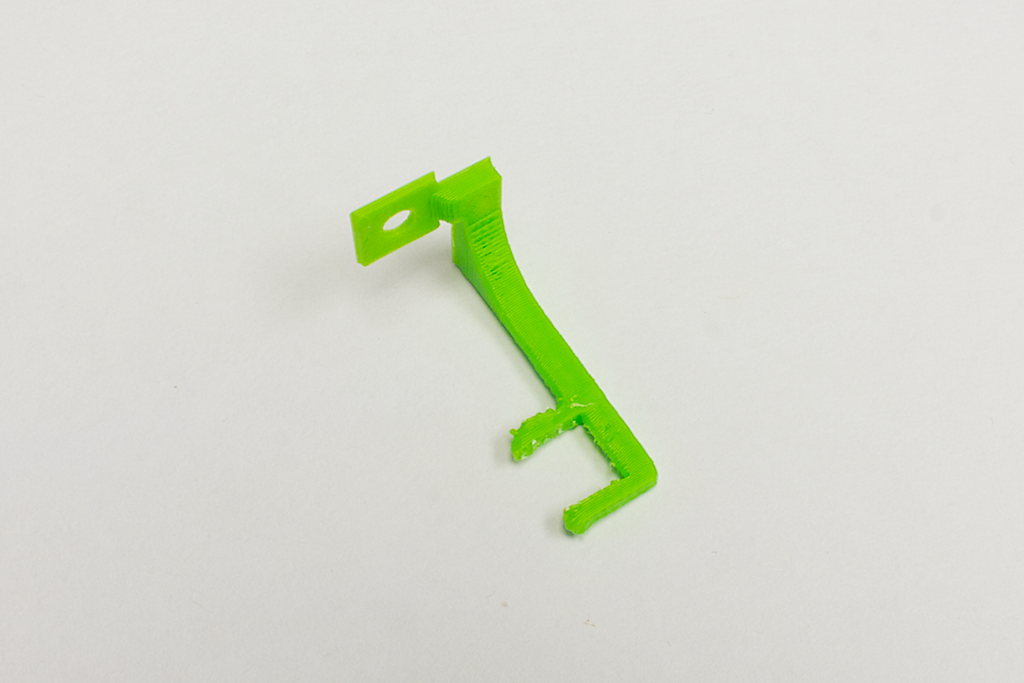
mould pieces. You will also need whatever material you are moulding with. We prefer Sugru or Oogoo.

sugru_experiment_6
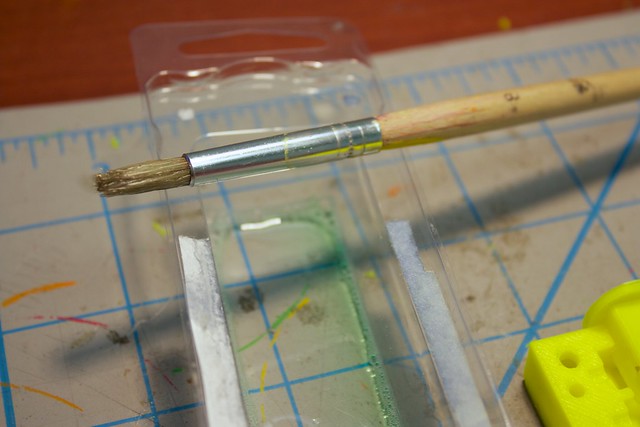
1. Apply some dish soap to both sides of the mould, as this will serve as a release agent. Do NOT put it on the hubs, as we need the material to stick to those!

sugru_experiment_18
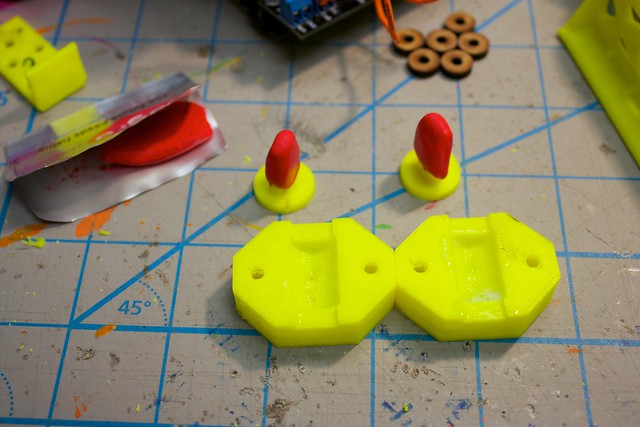
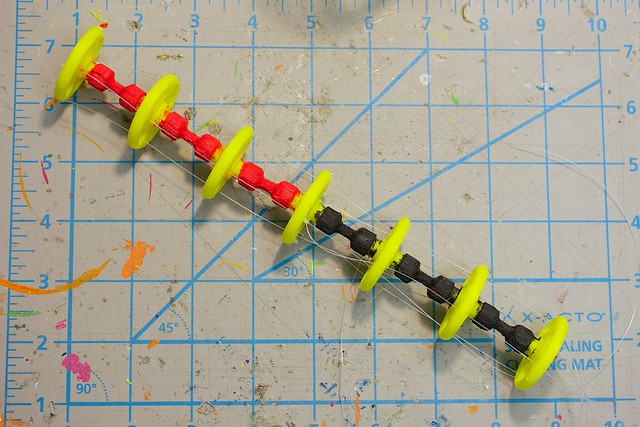
2. Pack in the material onto the hubs. Make sure the holes are covered thoroughly

sugru_experiment_19
3. Cover the bottom area of the mould with the material

4. Place the hubs into each end of the mould, with the larger circle 'stopper' facing outwards (it can't fit in the mould the other way)

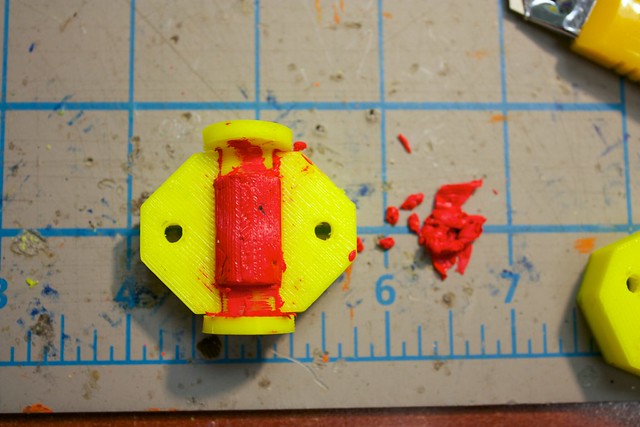
5. Add some material to the top half of the mould

6. SQUISH! Align the nubs of the moulds, and squish them together. Excess material will come out of the edges, be sure to press the hubs inwards

sugru_experiment_20
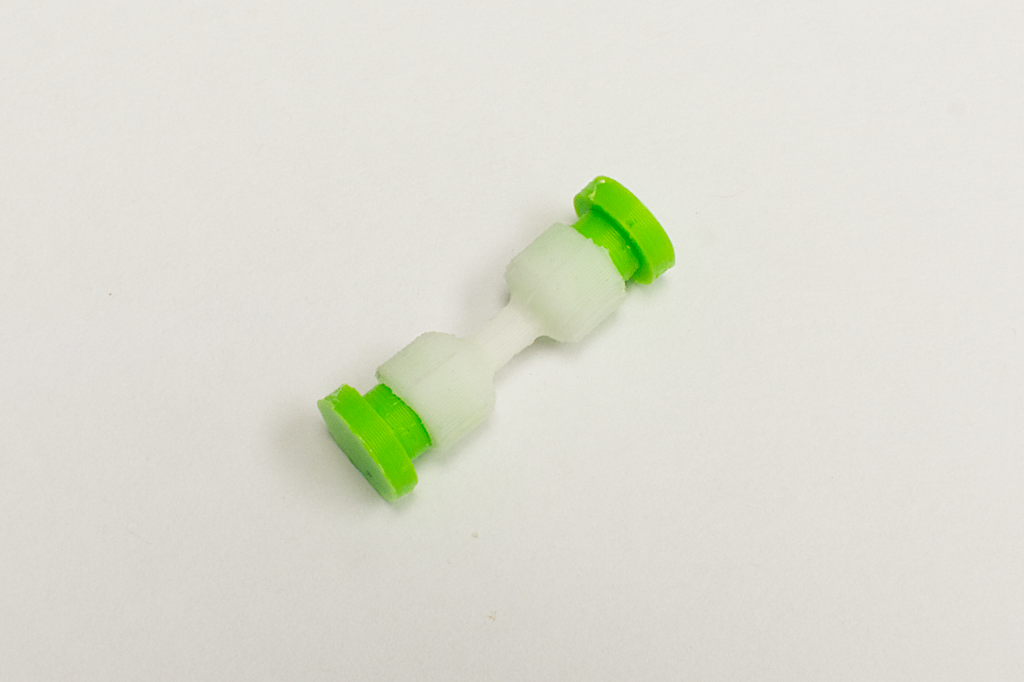
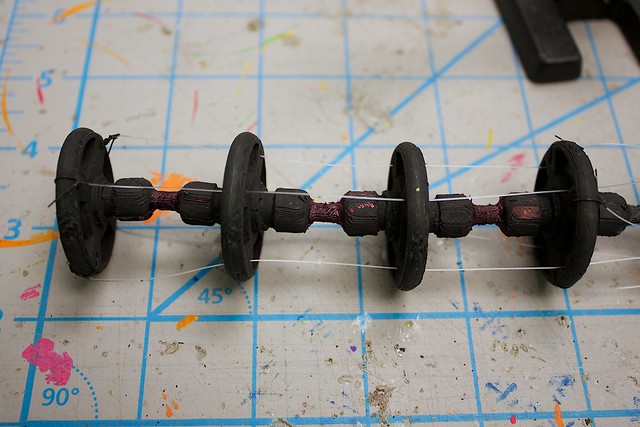
7. Removing the moulded link- with Sugru, this can be done a lot more easily than with Oogoo

flexible_links_4
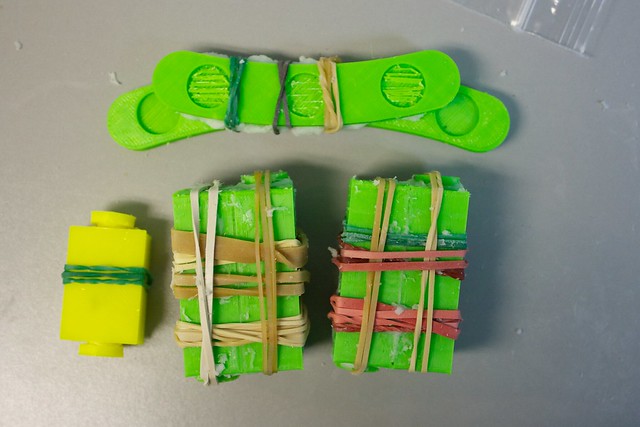
Alternatively, you can leave the Oogoo to set in the mould overnight, and remove it later.

8. Repeat- until you are out of hubs ;)

And that's it! In the future, if you are interested in modifying the flexible links and trying your own design at it, take a look at our tutorial about how we made the links!

Assembling the Tail


Now it is time to make the tail using the vertebrae and flexible links. In the end, it should look similar to this!

tentacle_mech_experiment_2

1. Take the hub of one flexible link, and insert it into the hole in the center of the vertebrae.

2. Take the other end of the flexible link, and insert it into another vertebrae.

3. Continue doing this, until all of your vertebrae and flexible links are used up.

Stringing Fishing Line


1. Cut four long strings of fishing line -- twice the length of the tail

tentacle_mech_wip_2_13
2. Tie these strings to the mini holes in the last vertebrae

tentacle_mech_experiment_10
3. Thread the strings through the mini holes, until you reach the middle vertebrae

4. Thread the strings through the openings within the vertebrae discs, all the way through to the end

-----

Middle Vertebrae
1. Cut four strings of fishing line -- 1.5x the length of the tail

tentacle_mech_wip_2_12
2. Tie these strings to the holes in the middle vertebrae

3. Thread the strings through the mini holes, all the way through to the end

Attaching Tail to Base


The beginning of your tentacle tail is the end that has the strings coming out of it. The end of the tail is where the knots were tied.

We will be attaching the beginning of the tail to the tentacle holder piece.

tentacle_holder_piece_

1. Thread the strings through the tentacle holder piece

2. Add some hot glue to the semi-circles on the holder piece

3. Gently move the vertebrae and stick it to these semi-circles

4. Be sure none of the strings are snagging on the hot glue

5. Once the glue is dry, apply some more glue to re-inforce the connection

More Building!


Time to build up more of our tentacle mechanism. Ready for the next part? Let's get building!

Building Part 2

"Working on building my tentacle mechanism! @RoboBrrd"
Tentacle Mechanism Building Working on building my tentacle mechanism! #RoboBrrd